Place cards for guests are very important organizing and simple stylish element of any wedding or other event. Today we will discuss how to create this cards by yourself:
- what kind of card's templates exist
- how to write name tags
- how to prepare paper
- what tools and techniques usually recommended to use
After reading this article, you will be able not only to create a set of cards for your guests without outside help, but also to issue postcards and invitations in the same way in the future. Just choose your style!
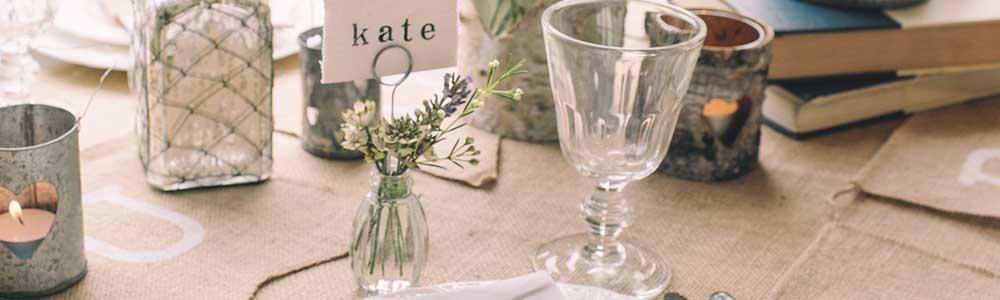
What are place cards for?
- They help guests to find their places, avoid confusion and disputes.
- They complement the beautiful decor of the banquet table.
Dimensions and design
Standard size - 110 × 65 mm
The main thing in the designing
cards - beautiful color
combination color palette
and style Events.
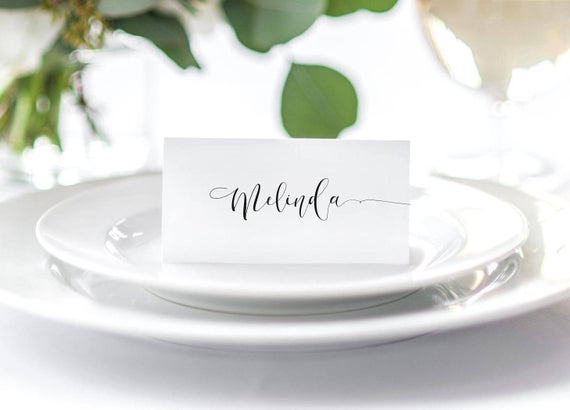
Classical a set of white
paper and black calligraphy
can change to attractive
attention combination silver
mascara and black paper or
gold ink and wine-colored
paper. Call for help
inspiration!
Paper weight - 300 g / m² and thicker. Not sure which texture to pick? Focus on ColorPlan and similar velvety matte textures.
Why do I recommend making seating cards by your own?
They are quite simple to make at home, since printing is not required here. Good quality neatly cut paper will do half the job. I usually use designer paper for this purpose, which is sold in special stores. You can choose any of large number of textures and colors, choose the right density.
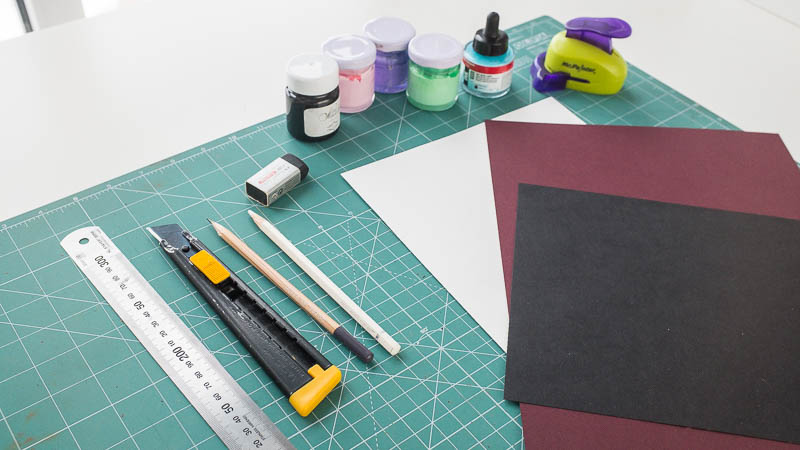
The first step in cards creation is paper cutting. An ideal even edge can be made at home: you don’t have to go anywhere, give paper to someone for cutting, look for some special studios. To trim you will need:
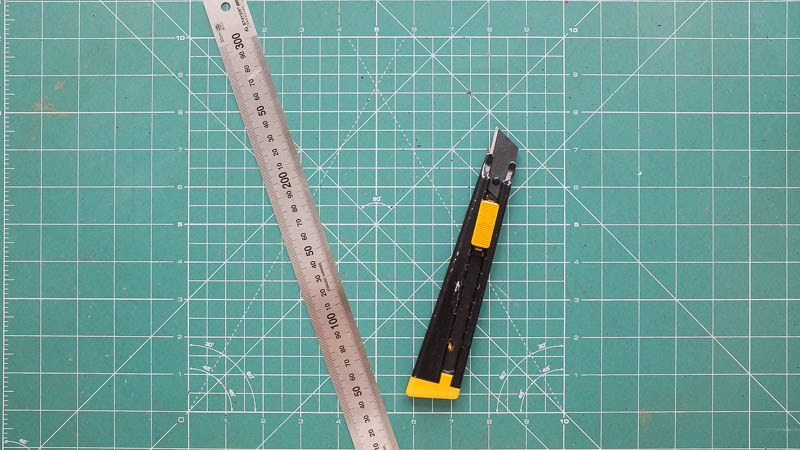
- cutting mat,
- stationery knife,
- metal ruler.
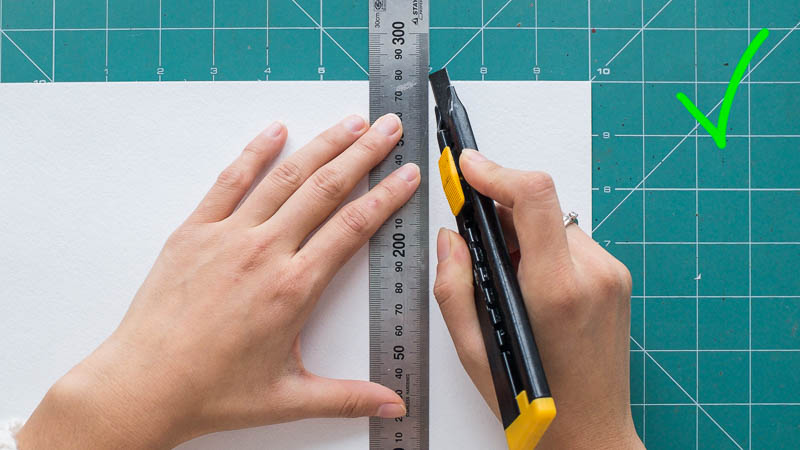
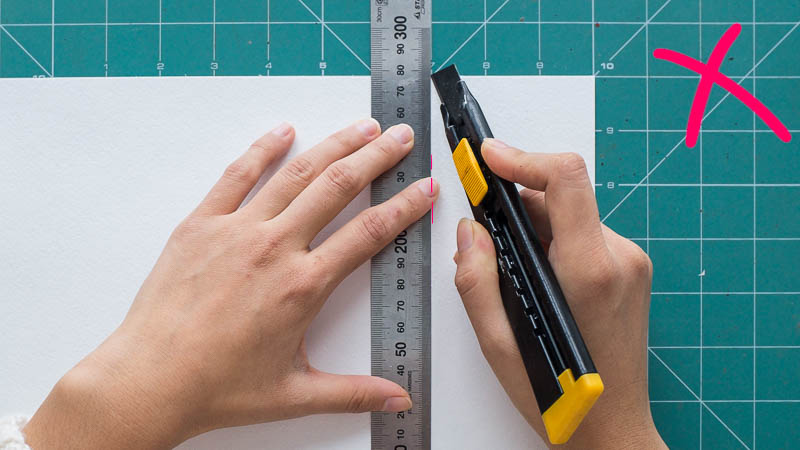
Graduation on the rug will help to trim the right size without using any patterns of seating cards. Be careful with your fingers - make sure that they do not protrude beyond the edges of the ruler, so as not to cut them with a knife.
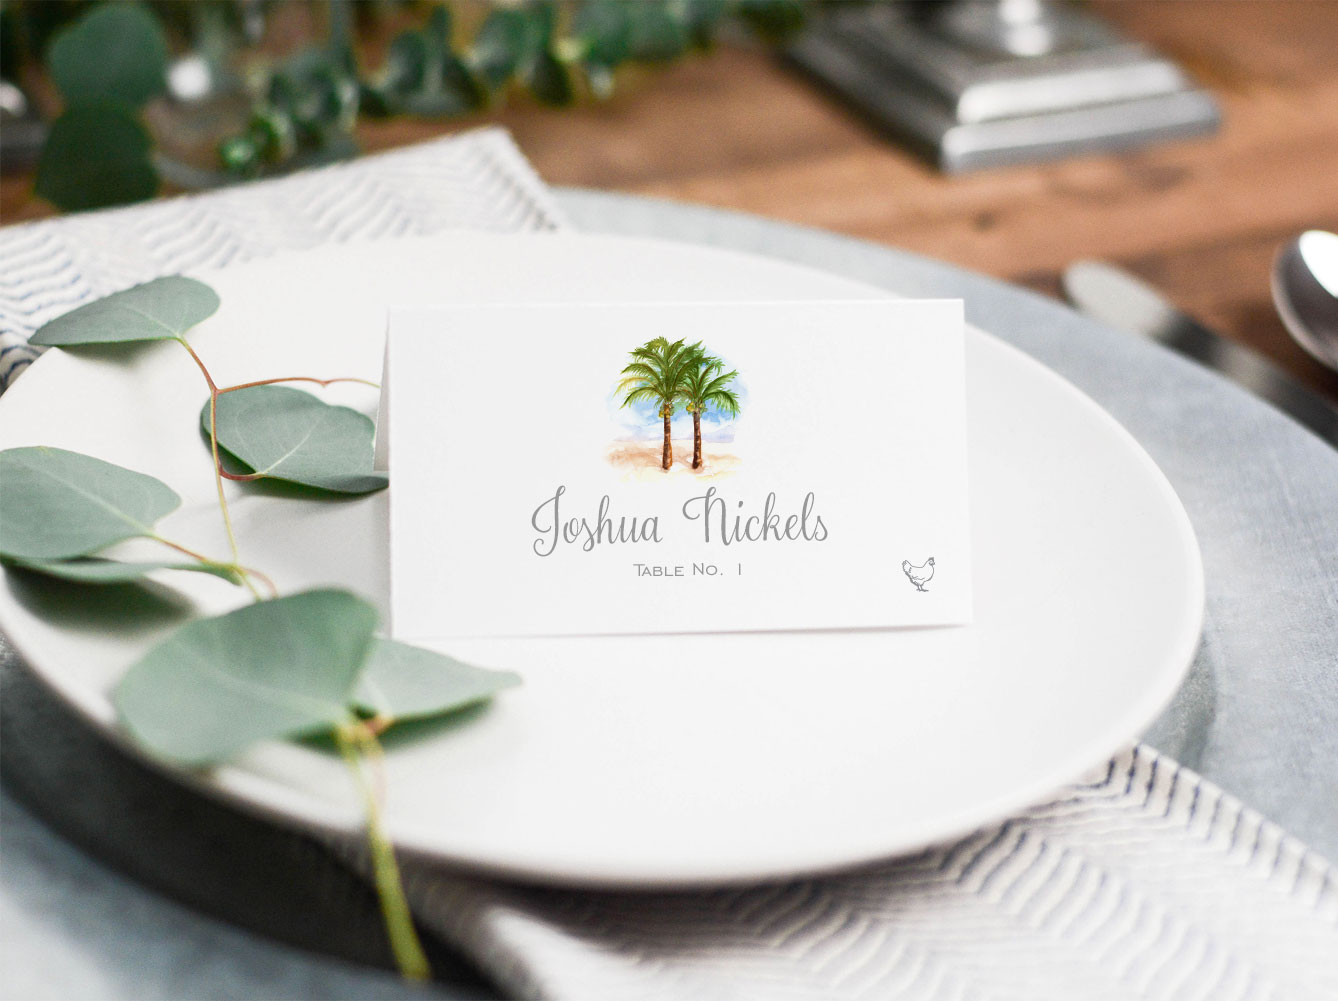
How to make name tags?
So, the card is ready, now you need to correctly place the name tag on it. The difficulty is that on the seating card there will be upper and lower case letters of different heights. The guest’s name and surname must be placed in the center, and the line for lowercase letters should be in the visual center, and not in the geometric center. If you do not follow this rule, the capital letters will be too close to the top border of the card.
To find a visual center, just start writing in pencil on one of the cards! Look carefully and feel whether the word is written in the middle. Twist the card in your hands, move it away from your eyes, turn it over. If you are not experiencing visual discomfort, you can draw lines for letters on top of a pencil sketch. Then calligraphy will be placed on them.
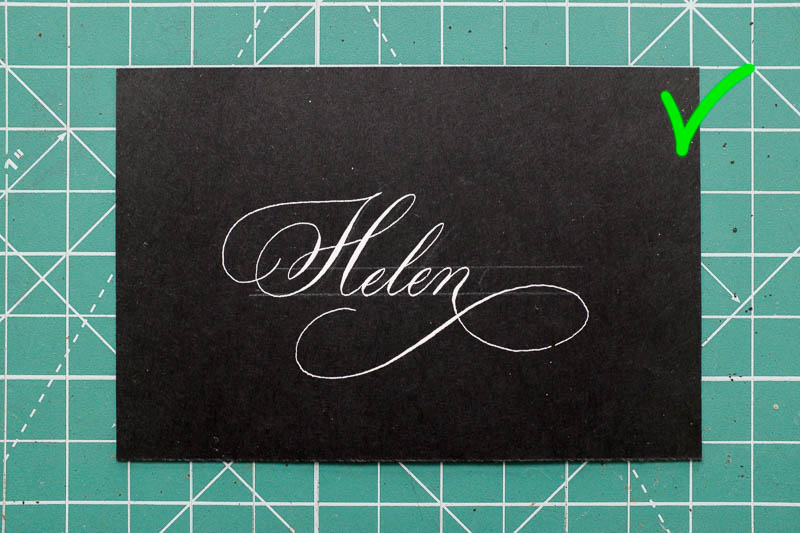
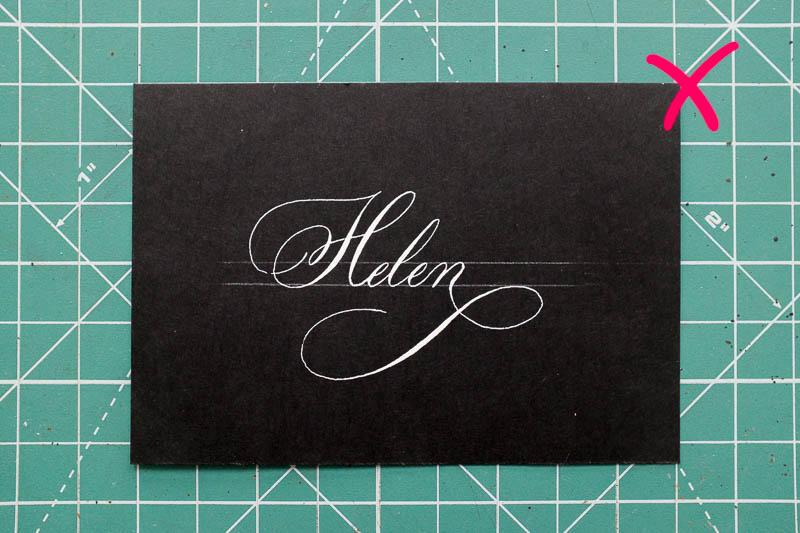
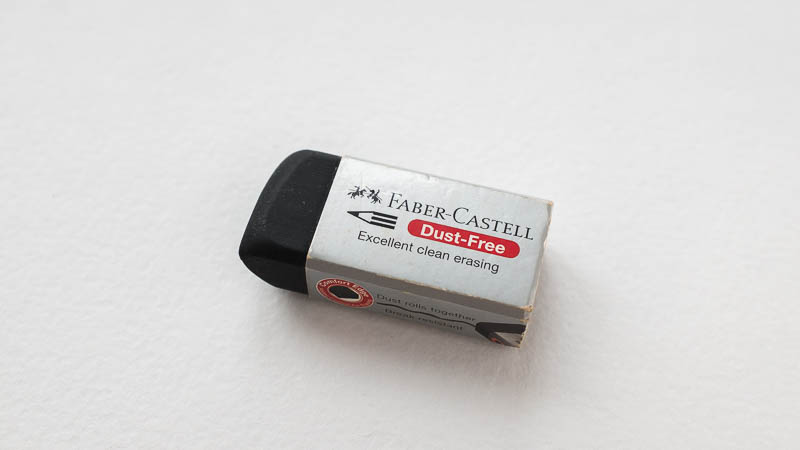
The name tag will look more professional if you draw both the top and bottom lines of the line, as well as mark the slope line. I draw such lines with a soft, simple pencil, which is easy to erase with a soft eraser after the ink has dried. Do not press on the pencil to leave marks on the paper. If the paper is black, the opposite is true: use a white watercolor pencil (I have Faber-Castell) and a black eraser (white will leave traces on dark paper).
Be creative!
Now you know how much you need to consider when signing a small guest card. But this is a very interesting process: you choose paper, practice in different fonts, give freedom to curls and create beautiful color combinations.
I hope that my advice will come in handy and you will make yourself many, many beautiful cards! Success in creative work!
Otherwise, just use our service and cut out the necessary cards. Only 4 steps and all your place cards are ready. Enjoy!
Regards